
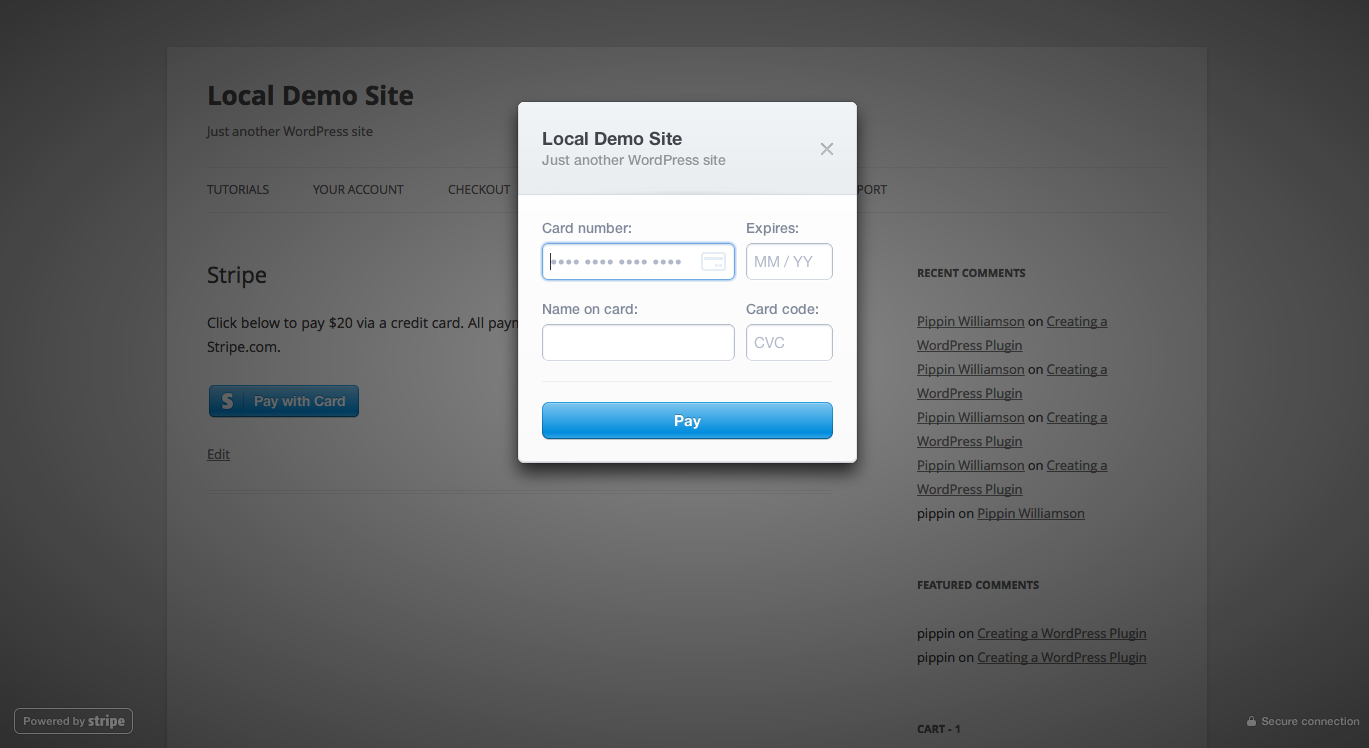
In part 9 of this Stripe.com + WordPress tutorial series, we are going to look at using the Stripe button for accepting payments through our website. The Stripe checkout button creates a really slick, secure popup window that the customer enters their payment details into.
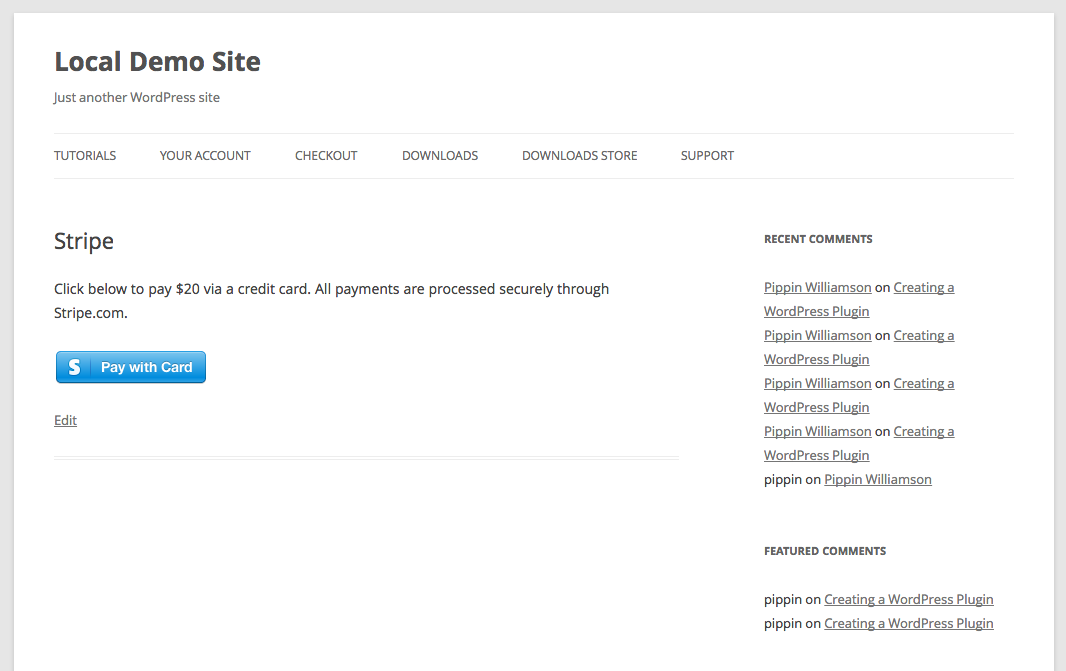
Adding the Stripe button is really pretty simple. All we will do is create a new short code called [stripe_button] that will display the “Pay With Card” button. Our payment will be processed by the same function that we have used for the rest of this series.
Once complete, the button and payment form looks like this:
In our includes/shortcodes.php file, we will create a new short code:
1 2 3 4 5 6 7 8 9 10 11 | function pippin_stripe_button_shortcode( $atts, $content = null ) { extract( shortcode_atts( array( 'amount' => '', 'desc' => get_bloginfo( 'description' ) ), $atts ) ); // html will go here } add_shortcode( 'stripe_button', 'pippin_stripe_button_shortcode' ); |
This short code functions very much like the [payment_form] short code. It has a parameter for amount and one for desc(ription). When used, the short code looks like this:
[stripe_button amount="20"]
or this
[stripe_button amount="20" desc="Make Payment of $20 to Pippin Williamson"]
In order to create a token (which is then used for creating the charge in Stripe), we need our publishable key, so we set that up at the top of our short code, just as we have done before:
1 2 3 4 5 6 7 8 9 10 11 12 13 14 15 16 17 18 19 20 21 22 | function pippin_stripe_button_shortcode( $atts, $content = null ) { extract( shortcode_atts( array( 'amount' => '', 'desc' => get_bloginfo( 'description' ) ), $atts ) ); global $stripe_options; if( isset( $stripe_options['test_mode'] ) && $stripe_options['test_mode'] ) { $publishable = trim( $stripe_options['test_publishable_key'] ); } else { $publishable = trim( $stripe_options['live_publishable_key'] ); } ob_start(); // payment form is here return ob_get_clean(); } add_shortcode( 'stripe_button', 'pippin_stripe_button_shortcode' ); |
Note the use of the trim() function. This ensures that there is no extraneous white space around our publishable key.
The Stripe button / popup itself is created with a script tag provided by Stripe, and it looks like this:
1 2 3 4 5 6 | <script src="http://checkout.stripe.com/v2/checkout.js" class="stripe-button" data-key="publishable key here" data-name="site name here" data-description="payment description here"> </script> |
This script tag needs to be placed inside of a form tag, so our final short code looks like this:
1 2 3 4 5 6 7 8 9 10 11 12 13 14 15 16 17 18 19 20 21 22 23 24 25 26 27 28 29 30 31 32 33 34 35 36 37 | function pippin_stripe_button_shortcode( $atts, $content = null ) {
extract( shortcode_atts( array(
'amount' => '',
'desc' => get_bloginfo( 'description' )
), $atts ) );
global $stripe_options;
if( isset( $stripe_options['test_mode'] ) && $stripe_options['test_mode'] ) {
$publishable = trim( $stripe_options['test_publishable_key'] );
} else {
$publishable = trim( $stripe_options['live_publishable_key'] );
}
ob_start();
if(isset($_GET['payment']) && $_GET['payment'] == 'paid') {
echo '<p class="success">' . __('Thank you for your payment.', 'pippin_stripe') . '</p>';
} else { ?>
<form action="" method="POST" id="stripe-button-form">
<script
src="http://checkout.stripe.com/v2/checkout.js" class="stripe-button"
data-key="<?php echo $publishable; ?>"
data-name="<?php bloginfo( 'name' ); ?>"
data-description="<?php echo esc_attr( $desc ); ?>">
</script>
<input type="hidden" name="action" value="stripe"/>
<input type="hidden" name="redirect" value="<?php echo get_permalink(); ?>"/>
<input type="hidden" name="amount" value="<?php echo base64_encode($amount); ?>"/>
<input type="hidden" name="stripe_nonce" value="<?php echo wp_create_nonce('stripe-nonce'); ?>"/>
</form>
<?php
}
return ob_get_clean();
}
add_shortcode( 'stripe_button', 'pippin_stripe_button_shortcode' ); |
The hidden input fields I have added at the same ones that we used in the [payment_form] short code and are used by our payment processing function.
Our short code is finished, but there is one more change we need to make. In our [payment_form] short code, there is a field for the customer to enter their email, but the Stripe button does not provide one, so we need to tweak our payment processing function to make sure it doesn’t error out if no email is provided. To do that, we change line 83 of includes/process-payment.php from
'email' => strip_tags( trim( $_POST['email'] ) ) |
to
'email' => isset( $_POST['email'] ) ? strip_tags( trim( $_POST['email'] ) ) : null, |
And that’s it! Your Stripe button payment form is now fully functional!
Download the complete source code for the plugin up to this point below.
[download id=”52″ format=”1″]
How to get charge id form recurring payments to process refund?
I can get charge id only for one time payment. bt i cant get charge id for subscription…..
Subscriptions are a series of multiple payments, so you will need to look up the payments by the customer ID, then refund accordingly.
Would it be possible to have a free form where the user inputs an amount to pay?
Certainly. I’d suggest taking a look Stripe’s example form for this.
I was tinkering and added the latest stripe lib and it’s white screening. Is there an easier way to add the latest lib? (“Notice: Undefined index: stripeToken”, “Fatal error: Class ‘Stripe’ not found”)
Struggle bus is out of gas. =)
You can download it here https://github.com/stripe/stripe-php
Sorry Pippin. That’s what I meant to say. I already have all the lib files, but get white screened when I try to require the init.php. Seems like Stripe changed the structure and added other files so this tut is somewhat out of date. I was wondering if there was an easy way to integrate the latest lib files that use init.php. Sorry about the confusion.
It could also be that you have another copy of the library being load.
Check your PHP error log to see what the exact error message is.
FYI the Stripe library now uses namespaces .. so if you’re having issues you might start there. If you download the plugin, it wont work with the newest library. (Simon – that’s most likely your issue)
Please could you direct me to section of the user guide that covers a plan upgrade. For instance, if a client wants to upgrade from Plan A to Plan B, how can they do this so that Plan a gets cancelled when they upgrade to Plan B?
Dear Pippin, Thanks for such an awesome knowledge you share with us. I was wondering how can we have a subscription checkout. I mean in the checkout there should be the plans or we can put the plan in our short code and the checkout will subscribe the customers to that particular plan. Thanks alot
It was working fine on localhost but when i moved the site to live server payments are getting failed without any error message, just the URL shows “payment failed”. Any ideas what am i doing wrong?
Do you guys think you can repost this plugin with the updated support for TLS security? I noticed that none of the features work cause you were using an older method of processing the payment.
I hope to at some point but it’s not currently within my bandwidth to do so.
The download link for the Stripe code appears to be broken. I just see “[download id=”52″ format=”1″]”